Learning Gulp.js

Gulp.js is a task runner that is used to automate tasks such as compiling all your style sheets into a single file, uglifying your JavaScript and so much more. This post is going to introduce you to the world of task runners through Gulp and how you can leverage task runners to make your work better and your workflow more agile.
What is Gulp?
Gulp is a task runner, that means it runs tasks. Tasks that you would usually run on a regular basis from the command line or even run using a bash script, task runners handle all that for you. For instance you can use a task runner to lint your JavaScript files every time you change them, it'll then let you know if you've done anything un-lint-worthy.
The main difference between Gulp and other task runners like Webpack and Grunt, is that Gulp focuses on code. You don't need to spend time setting up your config like with Grunt, you just get dug-in straight away writing JavaScript. I feel like that's the best part of Gulp, you're essentially writing a generic streaming module in JavaScript and this is because Gulp is a streaming build system. It uses Node.js streams rather than reading/writing files and storing them temporarily, this makes Gulp really fast!
How to use Gulp
One of the most common uses of task runners is to concatenate, minify and uglify files. For our example, we will look at a basic setup for compiling Sass stylesheets to a single CSS file, then we'll minify the result.
Creating a Gulpfile
Your Gulp file (gulpfile.js) should sit on the top-level of your project directory, like your package.json and .gitignore. The first thing you'll need to add to the file is:
let gulp = require('gulp');
Installing Gulp
To install Gulp you should run the following in the route directory of your project (you can use the -g flag to install globally):
npm install --save-dev gulp
This will install Gulp and add it as a dependency to your package.json (thanks --save-dev flag!), making it really easy to get this all up and running on other machines. You need to install any package you require in your Gulpfile.
Compiling Sass to CSS
Let's get our first Gulpfile ready to watch for changes to our Sass files for changes then transpile and concatenate them.
let gulp = require('gulp');
let sass = require('gulp-sass');
let rename = require('gulp-rename');
let concat = require('gulp-concat');
let minify = require('gulp-minify-css');

// default task, is also an alias of gulp without arguments
gulp.task('default', ['watch']);

// watch function watches directories/files and then runs tasks on change
gulp.task('watch', function (){
  gulp.watch('scss/**/*.scss', ['sass']);
  gulp.watch('css/style.css', ['css']);
  // any other watchers you want to add go here!
});

gulp.task('sass', function() {
  return gulp.src('scss/**/*.scss')
    .pipe(sass())
    .pipe(rename('style.css'))
    .pipe(gulp.dest('css'));
});

gulp.task('css', function(){
   gulp.src('css/style.css')
   .pipe(concat('style.css'))
   .pipe(minify())
   .pipe(gulp.dest('dist/css/'));
});
Note: You can install all of these packages at once using the command npm install --save-dev gulp-sass gulp-rename gulp-concat gulp-minify-css.
This Gulpfile has two watchers bundled into its default task.
The first watcher will watch the SCSS directory (and it's subdirectories) for changes in any file ending ending in .scss, then it will run the sass task. The sass task will then concatenate and transpile the sass to CSS, name this output file style.css and place it in the css directory.
The second watcher is for the css directory, watching for changes in the style.css file. When there is a change it will concatenate the file (doesn't do anything in this example), minify the file and then output the file to the directory dist/css.
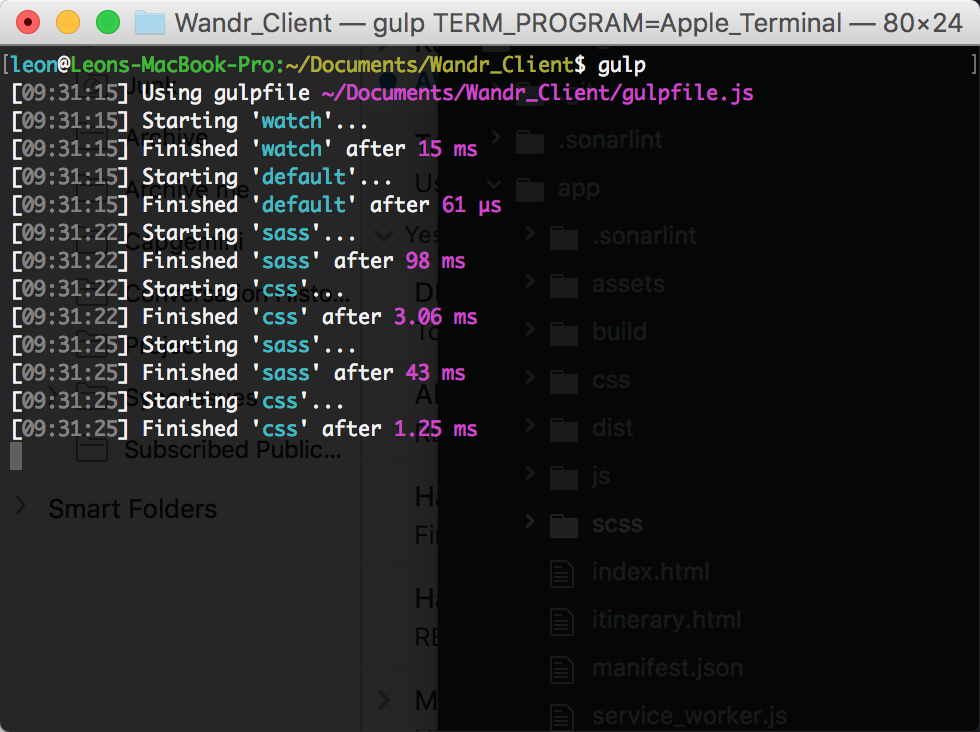
Run the Gulpfile by navigating to the root directory of your project and running the command gulp. This will run gulp default, which in our example is a task that runs gulp watch.

Now you have a minified CSS file built from all your SCSS files!
Adding BrowserSync to your pipeline
I use the BrowserSync package to update my website's resources in real-time, without the need to refresh. An added benefit of using BrowserSync is that it automatically runs a local version of your website, including an external link. Super useful for testing on different devices without a metric ton of setup!
The first thing you need to do is add the dependency to your Gulpfile (and install the package, adding it to your package.json!) by adding the following line: let browserSync = require('browser-sync').create();.
Next we need to instantiate our local server when we kick-off our Gulpfile by adding the following to our default task, before our watchers:
browserSync.init({
  //this is our base directory for the site
  server: "./app"
});
Finally we need to make sure that when we change our resources, the change is streamed to BrowserSync. To do this we need to add a line to our css task (after we set the file destination), the following line will signify to BrowserSync that there's been a change in a file: .pipe(browserSync.stream());.
Now our Gulpfile should look like this:
let gulp = require('gulp');
let sass = require('gulp-sass');
let rename = require('gulp-rename');
let concat = require('gulp-concat');
let minify = require('gulp-minify-css');
let browserSync = require('browser-sync').create();

// default task, is also an alias of gulp without arguments
gulp.task('default', ['watch']);

// watch function watches directories/files and then runs tasks on change
gulp.task('watch', function (){
  browserSync.init({
    //this is our base directory for the site
    server: "./app"
  });

  gulp.watch('scss/**/*.scss', ['sass']);
  gulp.watch('css/style.css', ['css']);
  // any other watchers you want to add go here!
});

gulp.task('sass', function() {
  return gulp.src('scss/**/*.scss')
    .pipe(sass())
    .pipe(rename('style.css'))
    .pipe(gulp.dest('css'));
});

gulp.task('css', function(){
   gulp.src('css/style.css')
   .pipe(concat('style.css'))
   .pipe(minify())
   .pipe(gulp.dest('dist/css/'))
   .pipe(browserSync.stream());
});
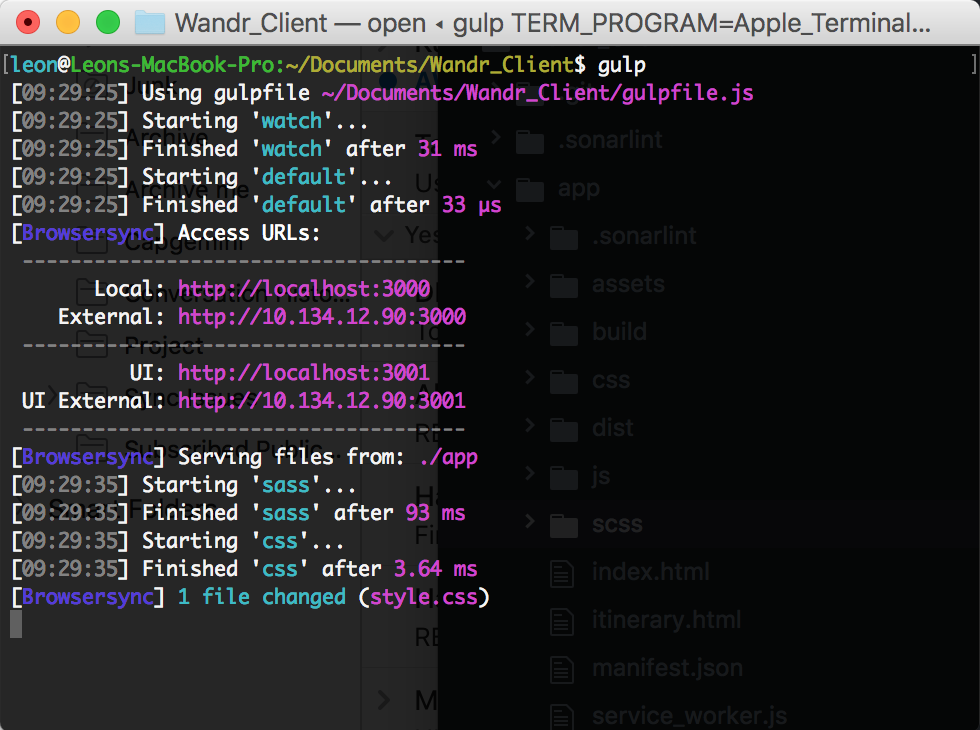
Now when we run gulp, not only do we get a local server running the site (and an external link!). We also get live reloads/updates when we change our SCSS files.

Leave a comment
Now that you've got your own nifty little pipeline, try to concatenate, minify and uglify your JavaScript using what you've learned. Leave a comment or tweet me if you get stuck or manage to do something cool!

